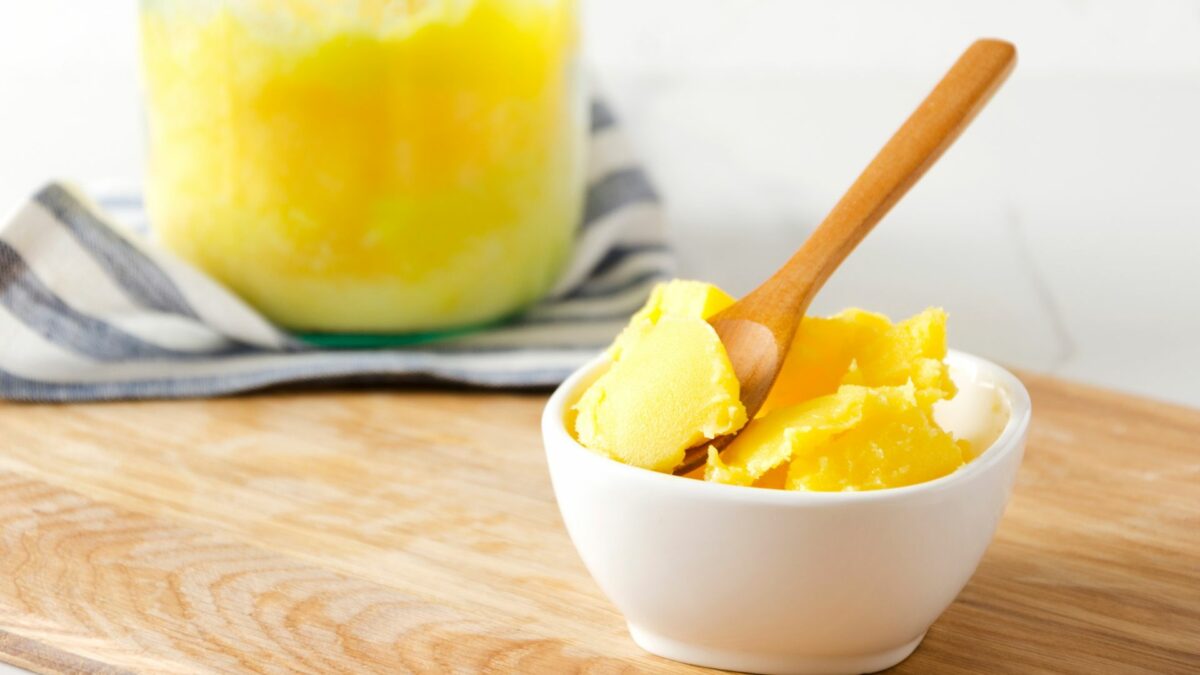
Have you ever paid $20 for a jar of ghee? You don’t need to. You can make ghee at home in about 10 to 15 minutes for about $5-ish, and it’s going to last a really long time.
Ghee is what is left over after butter has been clarified and purified. It is butter that has been stripped of all water and protein, leaving only pure fat. Although less sweet, it has a butter-like flavor. This recipe comes from India, from the Ayurvedic diet.
Ghee is one of the healthiest fats we can consume, so we’ll look at how to make it at home effortlessly, step-by-step.
Step By Step Directions to Make Ghee at Home, Easy and Budget-Friendly
We are going to prepare ghee, which is like clarified butter with the difference that it takes more cooking, which makes it smell and taste stronger and toasted.
It is very rich, gives a very special touch to any dish, and, because it is pure fat, we can cook it at higher temperatures without burning it, making it ideal for browning, sautéing, and even frying.
Ghee has immense benefits that have been proven through research. In fact, in India, it is known as “liquid gold.” It is a very healthy food, as it has fat-soluble vitamins, and it helps with the absorption of other nutrients.
Another reason to make and consume ghee is that it is a dairy product suitable for the most sensitive people. It contains almost no lactose, which is the sugar in milk, and very little protein.
We must remember that fat, especially fat from animal sources, is very good for the nervous system, especially the brain, and it also helps the body absorb nutrients.
It is also a way to preserve the butter since it can be out of the fridge for three to four months (it can be a little longer) and lasts in the fridge for one year.
How to Prepare Ghee at Home
1 cup

INGREDIENTS:
- 8 ounces of butter
Tip: Ideally, use butter made with grazing milk, that is, milk from cows that eat grass. But don’t worry, you can use whatever butter you can get to make your ghee.
It’s important to use unsalted butter because salt can change the way it melts. You can season to taste (we’ll see when to do it later).
MATERIALS:
- Cooking pot
Ideally, use a small cooking pot with a thick bottom so as not to burn the butter. It is also recommended to get one with a lighter bottom, if possible, because we want to know when the ghee is done.
- Spoon
- Small mesh strainer
- Glass jar with lid
INSTRUCTIONS:
1. Put the butter in the cooking pot
Tip: To ensure that the butter melts more uniformly, you can chop it into squares of the same size.
2. Set the stove to medium heat
Heat the butter over medium heat until it’s melted and starting to bubble, then turn the heat down to medium-low.
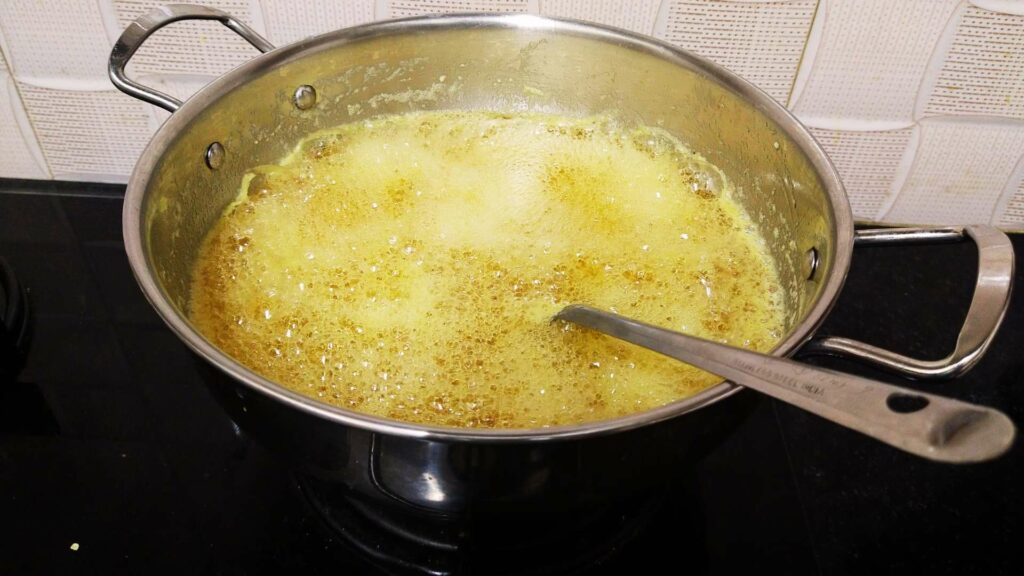
3. Let the butter boil
Butter doesn’t require stirring. The water will start to evaporate, which is one reason ghee keeps well outside the fridge. It will sound like popcorn popping. That is the water evaporating from it. We want it to bubble because that’s how the water gets out.
It will foam up (which is the protein in the butter), and under that foam will be the clear butter (which is turning into ghee).
Carefully stir the foam. Here’s where the light-colored cooking pot is going to come in handy, since you can see what’s happening under the foam.
After 5 to 7 minutes, the white stuff on top (the milk solids) will become increasingly scarce. And once they start to settle down all the way, they will start to brown. That’s what’s going to give the ghee its nutty flavor.
Don’t stop when all the milk solids are still white. We want them to be brown, but not burned. What we want is a very gentle simmer and not a rolling boil at this point because that’s how things burn.
Stir every once in a while, just to get a look at what’s going on at the bottom. Move some of the foam aside to look.
After 7 to 9 minutes, when there’s almost no white foam but there are large bubbles, you can turn off the heat.
You’ll know it’s done in a couple of different ways:
First, when you look at it, you will notice that all of the white stuff has settled to the bottom and has gradually begun to brown. Second, there is a noticeable difference in sound.
The only two things you need to be aware of are to not let it burn and don’t undercook it. But don’t you worry, ghee is extremely forgiving. You can probably get away with cooking it a little too much or too little. It’s important to get to the point where there’s no water left.
4. Let the ghee rest for a few minutes
Let it rest for a few minutes without heat. We will see 3 layers: on top is the foam that has remained (which you can remove so that the ghee is clean and dry), in the middle is the ghee, and at the bottom is the protein that looks toasted.
5. Strain the ghee
Place a small mesh strainer on top of the glass container you are going to store the ghee in, or, if you prefer, strain it into a bowl and then transfer it to the glass container. The container should be clean and dry, as we don’t want water in our ghee.
IMPORTANT! When the ghee is still liquid, add salt to taste.
6. Let the ghee cool down at room temperature
You can also keep it in the fridge for a while to solidify.
Voila! You have delicious ghee to enjoy as you like.
Ghee preparation is ideal for those who are allergic or sensitive to cow’s milk, as all dairy residue is removed in the process, so most people with milk allergies tolerate ghee well.
Some Common Questions About Ghee
Does ghee taste like butter?
It tastes different from butter and clarified butter.
For clarified butter, bring the butter to a boil for about one minute, at which point the white milk solids will either settle to the bottom or rise to the top. Allow the oil and water to separate, then skim off the top.
For ghee, what really gives it its flavor is the nutty brownness that comes from the milk solids browning slightly.
How to preserve ghee?
It doesn’t have to be in the fridge, but it should be in a closed glass jar with a lid, stored in a dry, dark place. In this way, it can last us for months (from three to six months). If you keep it in the fridge, it will last about a year. The biggest difference is that it will be easier to serve at room temperature.
How much ghee is recommended?
Take between 1 and 3 teaspoons daily. Remember that you have to combine it in your diet with other types of healthy fats, such as extra virgin olive oil (cold-pressed).
Note: Mixing ghee with honey can cause indigestion.
What is “free-range” butter?
Free-range butter is butter that comes from animals that live in the countryside, roaming freely and eating natural grass. This means that the milk and all its derived products are of the best quality and have all the benefits we are looking for. Animals that are not free-range eat feed that may be transgenic. In addition, more cows live together per square meter, so infections are transmitted between them more quickly, and they have to give them more antibiotics, in addition to the large amount of hormones they are fed so they produce more milk. All this means that both the milk and its derivatives are low quality.
DISCLAIMER
This information is not presented by a medical practitioner and is for educational and informational purposes only. The content is not intended to be a substitute for professional medical advice, diagnosis, or treatment. Always seek the advice of your physician or other qualified healthcare provider with any questions you may have regarding a medical condition. Never disregard professional medical advice or delay seeking it because of something you have read.
