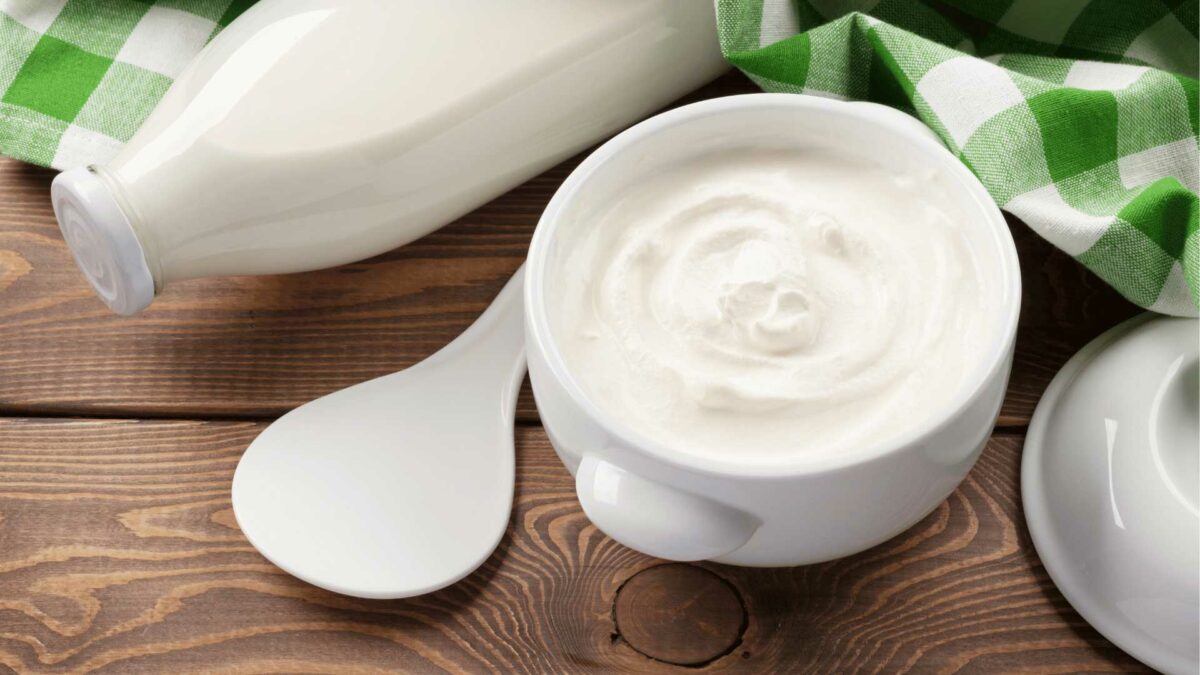
Clabber is a cultured milk that is the same as yogurt, kefir or any other similar product in terms of its probiotic contribution and enzymatic power.
Clabber can be used as cultured milk or curdled milk, i.e., it becomes a culture to make more clabber or can be used as a ferment to make any type of cheese. It is made from raw milk (unpasteurized milk) that self-fermented due to its own microbiology.
It is safer and faster to ferment it if we culture it with clabber we already have. The problem is, if we don’t have clabber, how are we going to culture raw milk with the backslopping process?
Let’s learn about how to make clabber from scratch. The challenge we face is that raw milk that is self-fermented follows a fermentation process that takes two to three days or maybe up to four days, depending on your local climate.
Clabber, Clabber Milk or Clabbered Milk
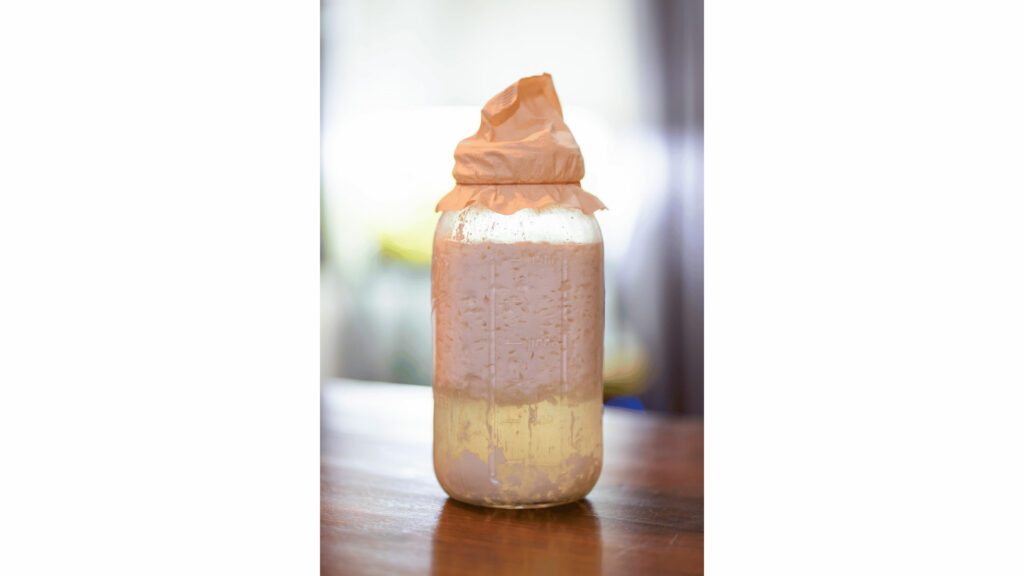
It is called clabber milk, clabbered milk, or just Clabber.
Clabber is similar to a sourdough to make bread because we can only get it from milk. Clabber that is already made can be used as a culture to make more clabber or as a ferment to make matured cheeses.
How to Make Clabber from Scratch
Let’s see step by step how to make clabbered milk.
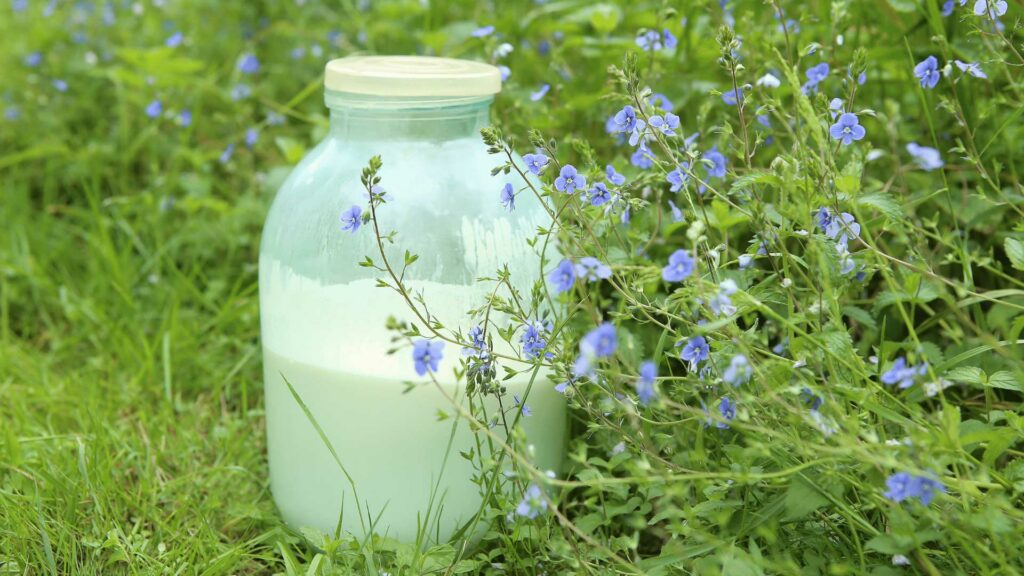
Freshly milked milk contains both good and bad bacterial flora. At the beginning, we are going to self-ferment the milk and let all the microorganisms grow, but in the end, we will isolate the good ones, which are the ones we will need to obtain a clabber we can consume.
To start a clabber from scratch, we must use raw milk because it is the source of all the microorganisms. From there, we can feed the clabber with pasteurized milk.
UTENSILS:
- 500 ml glass bottles with lid
- Spoon
- Cooking pot
- Plastic or glass container
- Thermometer
Note: You must make sure that your glass jars are cleaned and sanitized. To do that, just put some boiling water and vinegar in them to sterilize them and then dry them off.
INGREDIENTS:
First fermentation:
- 500 ml raw milk freshly milked or at room temperature. Keep in mind that to start a clabber from scratch, the milk must be “unboiled” and ideally freshly milked. If not, and in case you have refrigerated it, take the time it needs to reach room temperature into account.
Second fermentation:
- 500 ml raw milk or pasteurized whole milk, at room temperature.
Third fermentation:
- 500 ml raw milk or pasteurized whole milk, at room temperature.
INSTRUCTIONS:
First fermentation:
- Measure 500 ml of raw milk, place it in the glass jar and close it with the lid, but without making an airtight seal to let it release the Co2 generated from the fermentation, as this can create an unpleasant taste.
- Let it rest in the warmest place in the kitchen, out of direct sunlight, for 3 days (72 hours) or 2 days (48 hours) if you live in a very warm place.
- After the indicated time has elapsed, the milk fat will be at the top of the jar, and the clabber will be white at the bottom because we are using raw milk that came directly from the cow, that is to say, not homogenized.
- The first fermentation will be ready, and what has happened is that the natural microbiota in the milk will have proliferated. Good microorganisms, as well as bad microorganisms (those that we do not want in our ferment) will develop. In 2 or 3 days (48 or 72 hours) without refrigeration, the milk also becomes contaminated, that is why what we are now going to do is feed the clabber with new milk and discard this first fermentation, keeping only 1 tablespoon for every 500 ml of milk to be fermented in clabber.
Second fermentation:
In this second step, the fermentation curve decreases, that is to say, the fermentation time decreases. If the first fermentation took 3 days (72 hours), we want the second fermentation to take 2 days (48 hours).
- Measure 500 ml of raw milk to sanitize it (pasteurize it by hand). To do this, heat the milk in the cooking pot over medium or medium-low heat. Let it reach approximately 165 degrees Fahrenheit (74 degrees Celsius approx.), being careful not to let it boil, and then bring it down to room temperature. If you do not have a thermometer, perform small tests. If you can’t stand the heat of the milk for more than 3 seconds in the palm of your hand, the temperature is at about 160 degrees Fahrenheit (70 degrees Celsius approx.), and it is time to turn off the heat. This is before the boiling point, but it is hot enough. The next step is to have a plastic or glass container with cold water you can place the pot in so you can bring the milk to room temperature (70 – 80 degrees Fahrenheit / 20 – 25 degrees Celsius approx.). You can change the water when it gets warm as many times as you consider necessary. This is the end of the pasteurization process. Tip: If you want to skip the pasteurization step, you can buy pasteurized whole milk for this second fermentation.
- Pour the pasteurized milk (homemade or store-bought) into a new glass jar.
- Take 1 tablespoon of the clabber from the first fermentation and add it to the pasteurized milk. Mix and close with the lid (not airtight).
- Let stand for approximately 2 days (48 hours). The result of this fermentation of the milk in clabber can be consumed.
Third fermentation:
- Measure 500 ml of pasteurized milk (homemade or purchased) and repeat the second fermentation the process, with the difference being that you let it rest for approximately 1 day (24 hours).
- After 24 hours, the clabber will be ready for different uses.
Remember that if you can’t feed your clabber batches for 1 or 2 days (24 or 48 hours), don’t worry, the cultures are resilient. You can also store it in the fridge to slow down fermentation. The most important thing is to feed it regularly when you already have clabber for consumption.
