What a treat it is to eat yogurt with your favorite fruits—especially if they are in season—along with granola, preferably organic.
To make regular and Greek yogurt at home, we need to buy high-quality yogurt that has live probiotic cultures. We will also need cow’s milk, preferably whole milk, that hasn’t been pasteurized, but if pasteurized is what we have access to, we can use it instead.
Let’s take a closer look at how to make regular and Greek yogurt at home, which will not only guarantee its quality and ensure that it is incredibly nutritious and free of additives but will also save us a significant amount of money compared to store-bought versions.
How to Make Homemade Regular Yogurt
To make a rich, probiotic regular yogurt at home, we don’t really need much. Just a little patience, the ingredients, and the instructions to prepare it.
HOMEMADE REGULAR YOGURT
500 grams

Rule to make yogurt:
1 tablespoon (15 ml) of yogurt (culture) x 1 liter of milk
INGREDIENTS:
- 1 tablespoon plain yogurt (with live probiotic cultures, i.e., unpasteurized, no additives)
- 1 liter of whole cow’s milk (ideally unpasteurized)
Tip: If you use skim milk, you can add 2 tablespoons of powdered milk, skim or whole, to the liquid milk to make it thick.
MATERIALS:
- Cooking pot
- Wooden spoon
- Digital thermometer
- Glass jar(s) with lid or Tupperware
- Portable cooler (optional)
- Towel
- Plastic strainer (for Greek yogurt recipe)
- Kitchen cloth or cheesecloth (for Greek yogurt recipe)
Note: You must make sure that your glass jars or Tupperware are cleaned and sanitized. To do that, just put some boiling water and vinegar on them to sterilize them, and then dry them off.
To make yogurt, we’re going to need yogurt. But how? Let me explain. To jump-start the transformation of any food we want to ferment, we need a small amount of a previous batch of that same ferment. This is what is commonly known as “backslopping.”
If you don’t have yogurt at home, you can buy it at the supermarket, opting for a high-quality one (you should see the ingredients). This will be used to inoculate the milk so that it ferments into yogurt. We need something that hasn’t been pasteurized and doesn’t have any additives, fruit, or preservatives. It should only have milk and probiotic cultures, also called lactic cultures.
The necessary microorganisms are already present in yogurt. If we want, we can also get microorganisms, but the reality is that the closest place to get what we need is the supermarket, so that is an excellent option.
We also need cow’s milk, preferably whole milk. If pasteurized milk is the only option, use it. Although it is pasteurized, we will give it new life by fermenting the yogurt.
A glass jar(s) with lid(s) or a Tupperware container(s) with lid(s) will be required. We’re going to cultivate the yogurt there.
The portable cooler will serve to incubate the yogurt since we need a closed space where the containers retain heat. If you don’t have one, don’t worry and continue reading.
The towel is to make a nest for the container(s) where we are going to ferment the yogurt.
Another useful item is the thermometer. Using it is highly recommended since this is a process that depends a lot on temperatures. First, we have to heat the milk and then lower the temperature. Basically, we want to find the best temperature to mix the yogurt (culture) into the milk.
INSTRUCTIONS:
Without further ado, let’s get started on making yogurt at home by following these steps:
1. Bring the yogurt (culture) to room temperature
Take 1 tablespoon of yogurt out of the fridge, which will be the culture for this recipe, since we need it to be at room temperature when mixing it with the milk for fermentation.
2. Set up the conditions for fermentation
Fill the cooler halfway with hot water, then seal it. To retain the heat, the lid must be fastened securely.
Skip this step if you don’t have a portable cooler.
3. Heat the milk to the right temperature (180°F/82°C)
In the cooking pot, heat the milk over medium or low heat until it reaches 180 degrees Fahrenheit or 82 degrees Celsius.
Tip: If you don’t have a thermometer, bubbles are one way to tell when it’s the right temperature. Turn off the heat now.
You can also put the tip of your little finger in the milk and count up to 5 or 6 seconds. If you have to pull your finger out because it’s too hot, the milk is at the right temperature. If you can’t keep your finger in it for more than 3 or 4 seconds, it’s too hot, turn off the heat and let it cool down. If you have to wait 8 seconds before taking your finger out, it’s still too cold.
In this step, we must pay attention to the milk because it’s easy to get distracted by other things in the kitchen while it’s heating up. The best thing to do while heating milk is to stir it and keep an eye on the temperature with a thermometer or other method. We want to keep the milk from getting too hot and burning, and we also don’t want cream to form, which is the skin or layer that forms on top of milk that isn’t constantly moving. This skin that forms is lost fat that won’t mix well with the yogurt when it’s ready. To get a good result, you should be patient and stir the milk at least once every two minutes, especially as it gets close to the right temperature.
Note: The time it takes to heat the milk to the desired temperature depends on the initial temperature of the milk, the cooking pot in which we are heating it, and the power of the stove.
Why warm up milk? Because cooked milk is the only way to make yogurt. It is a “thermophilic” ferment, which means it is made at a higher temperature than, say, kefir, which is a “mesophilic” ferment made at room temperature.
When we heat milk to 180 degrees Fahrenheit or 82 degrees Celsius, we make the proteins in it stronger and the final product thicker.
Tip: If you have access to good raw milk, it would be better to make milk kefir than yogurt because milk kefir is made at room temperature without cooking or heating the milk.
4. Let the milk cool down to the right temperature (115°F/46°C)
Now, turn off the heat and let the milk cool down until it reaches 115 degrees Fahrenheit or 46 degrees Celsius.
Do not neglect the cooling process, as it can cool down more than necessary.
At least at first, it’s a good idea to stir the milk as it cools down because cream can still form at this point.
5. Mix the milk with the yogurt (culture)
When the temperature reaches 115 degrees Fahrenheit or 46 degrees Celsius, add 1 tablespoon of room temperature yogurt to the container(s) with lid(s). Then add 1 liter of milk, stir, and cover.
Tip: If you use jars, you can avoid spills by pouring the milk in through a funnel.
Also, if your yogurt doesn’t turn out well, it could be because the culture (the yogurt) wasn’t strong enough to inoculate and ferment the milk into yogurt. If the culture is weak, adding more culture won’t help. That is, you have to buy a different brand of yogurt if the first batch doesn’t turn out well. Packages with bacterial strains are also available at specialized stores.
6. Start the fermentation process
Remove the hot water from the portable cooler. When the portable cooler is empty, place a clean towel inside, insert the container or containers with lids, and wrap them with the towel. Close the lid of the cooler and let it rest for a minimum of 8 hours and a maximum of 24 hours.
Tip: You can place some water bottles with hot water inside the portable cooler to conserve most of the heat.
If you don’t have a portable cooler, you can wrap the closed container or containers with a towel (be careful not to let the heat escape because fermentation depend on that heat inside), put them in a plastic bag and tie it shut. Then store it in a closed environment, such as an oven or microwave oven (being careful not to turn it on while it’s in there).
If you have a yogurt maker, the advantage is that the ferment is kept at a constant temperature, since the yogurt may not ferment well if the environment is not hot enough.
The more it is fermented, the less lactose the milk will have and the more acidic the yogurt will be. This is because the microorganisms feed on the lactose in the milk and in turn produce acids, making it less sweet and more acidic.
7. Save yogurt (culture) for the next fermentation
After the indicated time, you will have your regular yogurt ready. If you make it with whole milk, it will have cream on top, which is the fat of the milk (remember that the fat is good).
IMPORTANT! Don’t forget to save at least 1 tablespoon of yogurt before sweetening or flavoring it to culture your next batch.
Greek Yogurt Made from Regular Yogurt

You can transform your regular yogurt into Greek yogurt in just one simple step.
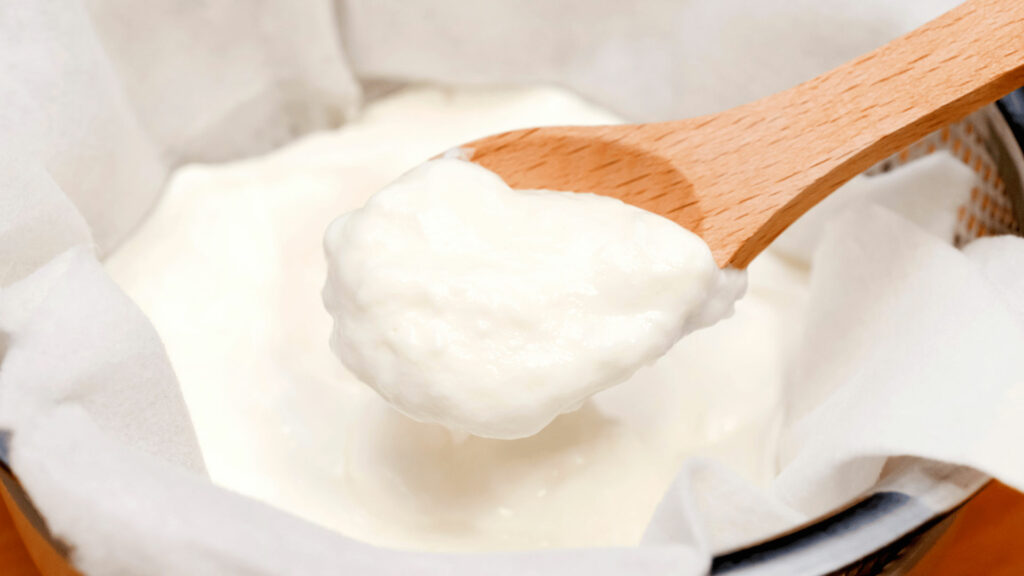
If you want a thick and creamy yogurt, known as Greek yogurt, you must use a bowl, ideally a non-metal one. Put a strainer inside and a kitchen cloth or cheesecloth on top, then add the regular yogurt in the bowl. You can make a type of bag with the cloth and leave it to distill so that it releases the whey from the milk. For this process, store the yogurt in the fridge for 8 to 12 hours. It all depends on how thick you want it.
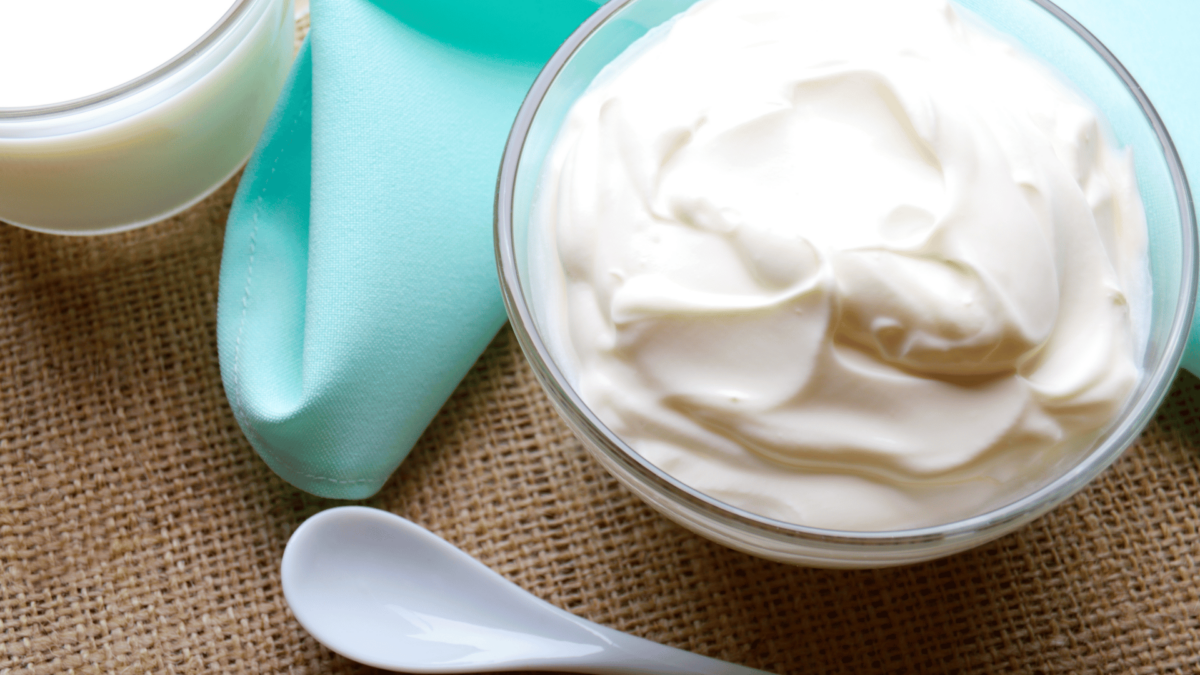
And voila, you have a delicious, probiotic Greek yogurt that you can enjoy in any way you like.
Keep in mind that you can freeze the whey and use it in other recipes.
Note: If you start the recipe with 1 liter of milk, you will get ½ liter (500 grs/ml) of Greek yogurt, that is, half. If the yogurt is a bit runnier, then you will have more yogurt. It is a matter of your taste and how much whey you want to remove.
The advantage of making yogurt at home is that we do it to our liking, sweeten it as we want, and it will be freer of additives.


